1946 Belmont Model 6D121 Large Views
Free Belmont radio corp 6D121 or 6D-121 schematic with service manual. By Clicking on Here
1946 Belmont Model 6D121 Large Views |
||
|
|
Free Belmont radio corp 6D121 or 6D-121 schematic with service manual. By Clicking on Here |
|
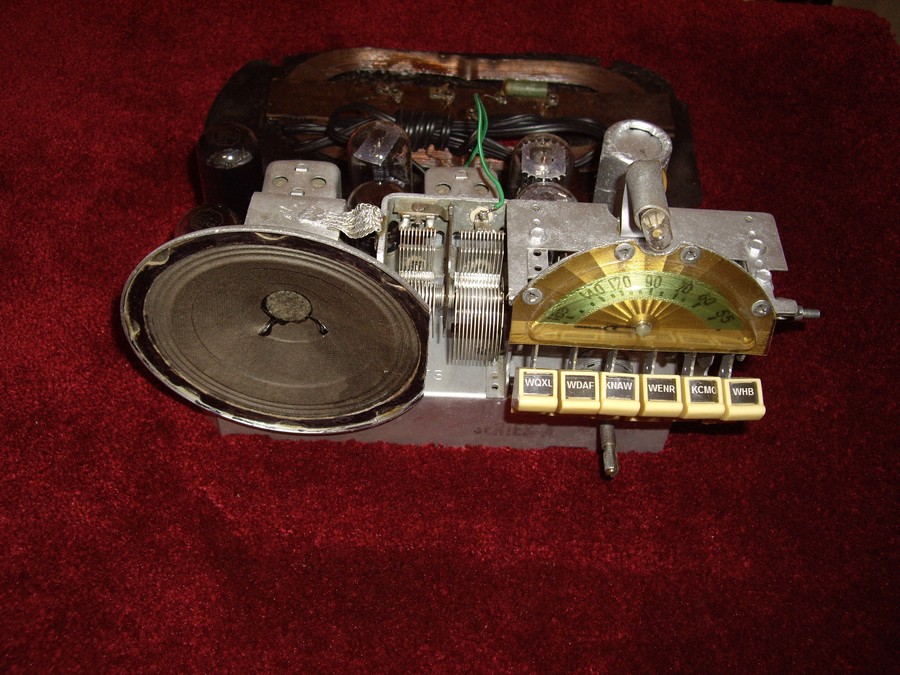
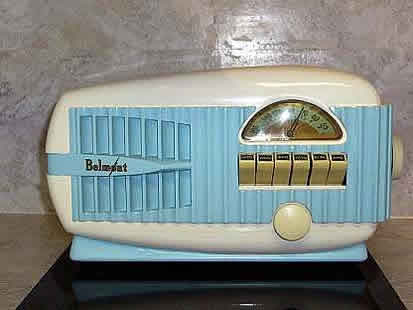
| Ivory-White-Baby Blue. This is The Art Deco of all Art Deco Radios from, Belmont Model 6D121, Corporation in 1946. The Art Deco Lines add blue vanilla flavoring to unique style with rare special push button tuning. | ||
(Sorry Sold Shipped to Georgia USA Jun2012)
Now Only $2,520 USD with Fed Ex Air Included Item__E050912
| _T his 1_ | _2_ | _3_ | _4_ | _5_ | _6_ | _7_ | _8_ |
| Back To Catalog • To Home Page | About US • Privacy Policy • Returns •Terms of Use • Back To Catalog |
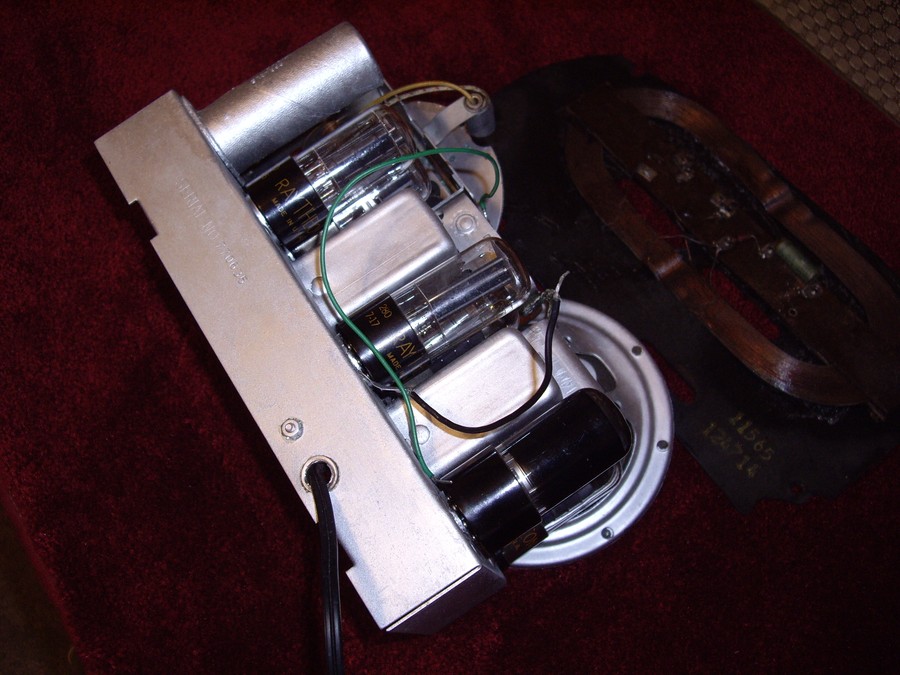
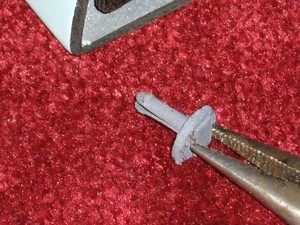
To install tubes place radio on soft surface like a towel (soft rug) so not to scratch. Grab all four back pins with large needle nose pliers and pull out. Back will pull right out. See below.
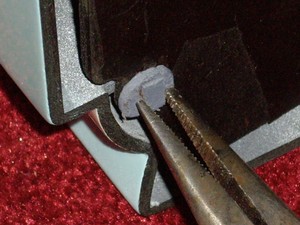
This shows one pin out and later you want to push them back in with your fingers NOT A TOOL.
Always handle glass tubes with handkerchief and push them in from the metal/plastic round bottoms not the glass. Only push down on glass, if you have no choice, for hard to reach socket insertions (NEVER TWIST ON GLASS WHEN PUSHING INTO SOCKET ONLY PUSH STRAIGHT DOWN WHILE HOLDING GLASS WITH HANDKERCHIEF).
NEVER, PULL A TUBE OUT OF ITS SOCKET BY THE GLASS, always use two slot screwdrivers, one on each side, below the bottom and pry up one screwdriver, at a time. This means of course, you cannot get a hold of the metal or plastic round bottom portion, to pull out tube from its socket.
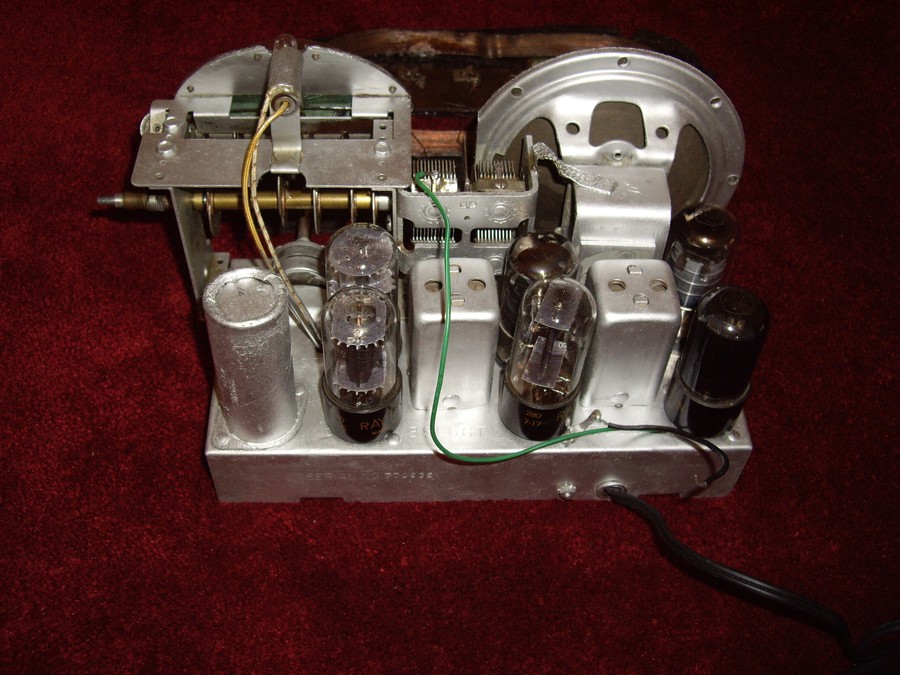
Note: on tube layout below to put in the 12SQ7 and the two 12SK7’s first.
Since these are in the front of chassis, which is still in its cabinet, they become hard to install, with the other tubes (35L6GT, 35Z5GT, 12SA7) already installed, in front of them.
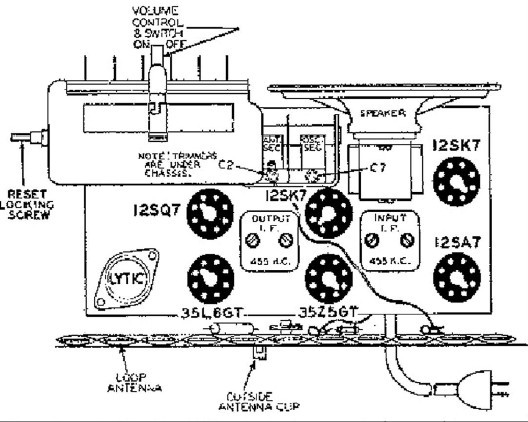
After tube insertions you must install the green and black antenna wires. The photos next show the Fahnestock type, push down, antenna clips. Push down, insert wire, then release to hold wires in clips. Of course the clips must be clipped on the un-insulated ends, of the two wires.
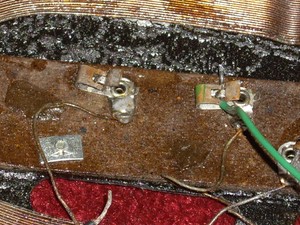
Above photo is inside of Belmont Back, with black wire unhooked and green still hooked.
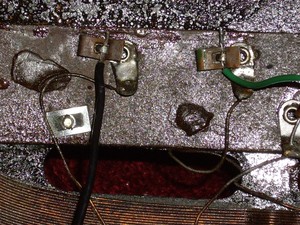
Above photo is inside of Belmont Back, with black wire and green still hooked.
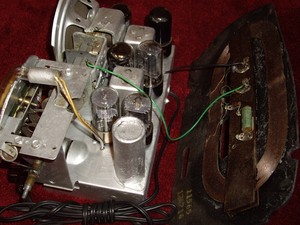
Below photo shows chassis out of cabinet with back attached. You should be able to install tubes and antenna wires without removing the chassis.
Remember, if you want to remove chassis for any reason. Side knob, center screw, must be totally removed from center of dial, then it will pull straight off just like the volume knob.
Always handle tubes from the bottom pins or metal/plastic bottom and try not to, touch the glass at all but if must, use a handkerchief.
Read radio instructions for setting presets on tuning buttons to your local stations.
This is obtained from clicking on (Free Belmont radio corp 6D121 or 6D-121 schematic with service manual ) On Page Above
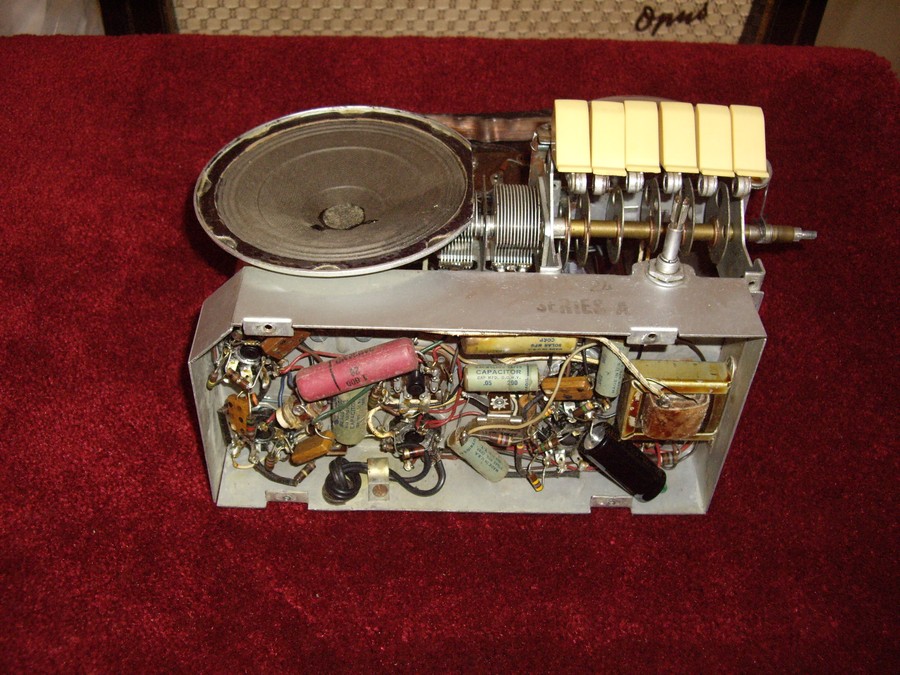
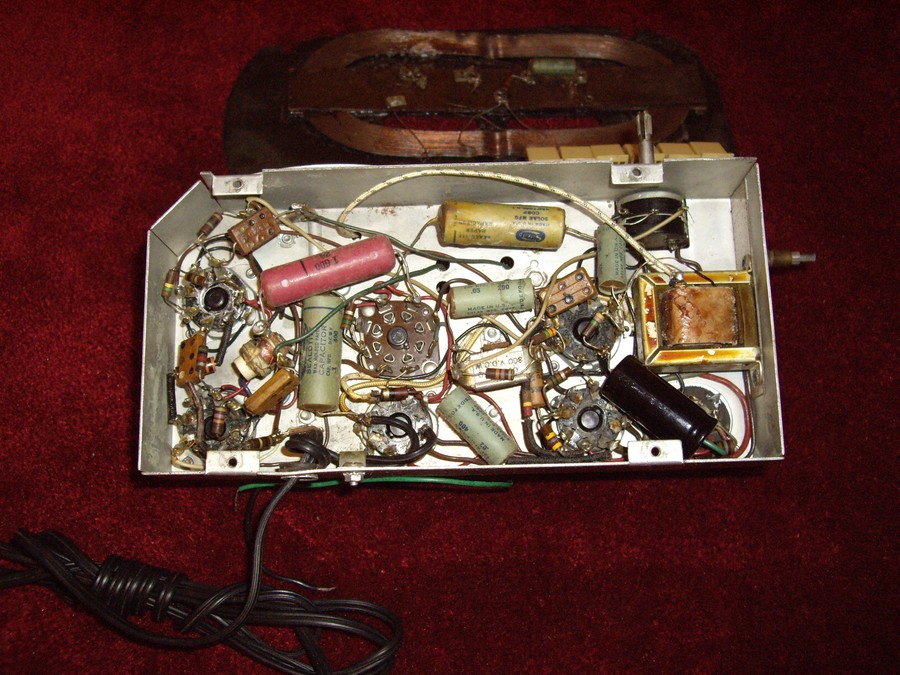
HERE ARE SOME CHASSIS PICTURES BELOW